What Is Generative Fill and How Can It Help You
Generative fill is a powerful AI technique that lets you edit specific parts of an image without touching the rest. You mark an area, tell the AI what to do with it, and watch as the tool seamlessly replaces, removes, or reimagines that section.
People use generative fill for countless purposes. Photographers remove distracting elements from otherwise perfect shots. Designers swap out backgrounds or add new objects to scenes. Content creators fix imperfections, update old images, or experiment with creative concepts without starting from scratch. Real estate professionals clean up property photos. E-commerce sellers replace product backgrounds or fill empty spaces. The applications stretch as far as your imagination allows.
AiSudo brings this capability directly to your browser with no software to install and no steep learning curve. Our generative fill tool uses intuitive color-based area selection paired with simple text prompts. You paint the zone you want changed, describe your vision, and the AI handles the technical complexity. Whether you need to erase an ex from a group photo, replace a cloudy sky with golden sunset, or fill an empty wall with artwork, AiSudo makes it accessible. You will get professional grade result in less than 20 seconds.
How to Use Generative Fill Online
To start using generative fill on your images, click the button above to open the AiSudo App 👆️
Then follow these steps:
Upload Your Image: Start by uploading the picture you want to edit into the Reference Images panel.
- Click the "+ Image" button
- Select the photo you'd like to transform
Mark Your Target Area: Click on your uploaded image to open AiSudo's built-in editor.
- Choose a distinct color from the editor's palette
- Paint over the exact area you want to edit, replace, or remove
- Be precise with your brush strokes for cleanest results
Set Up Parameters:
- Navigate to the "Basic Settings Panel" (click the settings button if hidden)
- Choose your desired output width and height
- Adjust "inference steps" for quality versus speed trade-off
Note: Some AI models auto-detect settings. Skip this step if options aren't visible.
Remove Objects Using Color Prompts
This method excels at clean removal of unwanted elements from your photos.
After uploading and marking your image, go to the prompt panel. Replace any default text with your specific instruction. Reference the exact color you used to mark the area.
Here are some prompt ideas for removing objects:
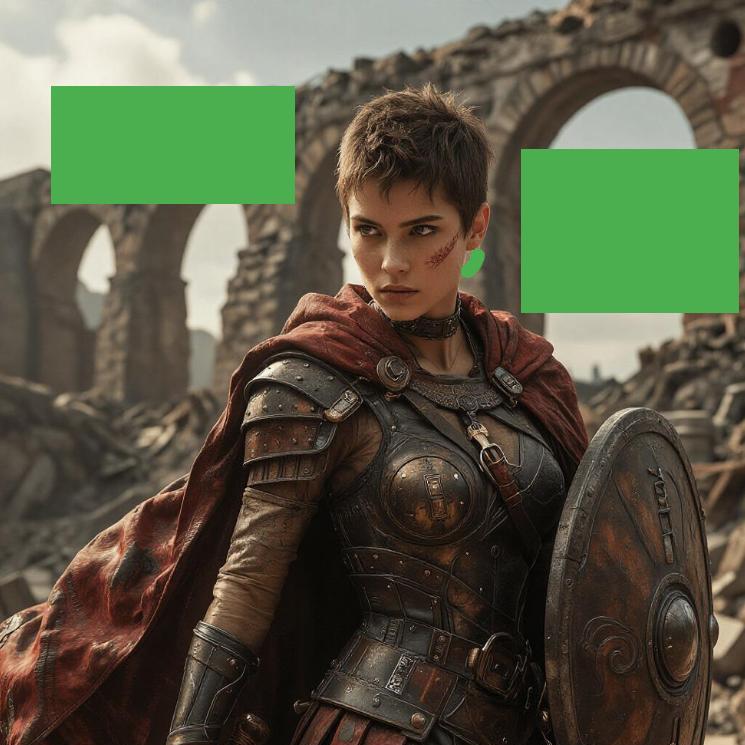
remove green area
remove the red marked section, fill with matching background
remove blue area and replace with surrounding texture
Tips for Removal Prompts:
- Always name the color you used in your marking so the AI identifies the correct zone
- Specify "matching background" or "surrounding texture" for seamless fills
- For complex backgrounds, try "inpaint" or "restore" instead of "remove"
- If edges look harsh, add "blend naturally with edges" to your prompt
- Multiple small marks work better than one large imprecise zone
Replace and Fill Areas with New Content
This method transforms marked areas into entirely new elements.
- Upload your image and mark the target area with your chosen color
- Set your output parameters
- Craft Your Replacement Prompt: Describe exactly what should appear in the marked space
Here are some prompt ideas for replacing and filling:
replace green area with a wooden bookshelf
fill red zone with blooming cherry blossoms
change blue marking to a vintage leather armchair
Tips for Replacement Prompts:
- Describe lighting direction to match your original image (e.g., "soft light from left")
- Include material, texture, and style details for richer results
- Mention "matching perspective" when adding dimensional objects
- Specify scale relative to surrounding elements if important
Fill Image with Another Image
This advanced technique lets you populate marked areas with content from a separate reference image.
- Upload your main image and mark the target zone
- Upload Your Reference Image: Add a second image showing the content, texture, or style you want transferred
- Write Your Prompt: Direct the AI to pull from the reference
Here are some prompt ideas for reference-based filling:
fill green area with texture from image 2
replace marked zone with sky from image 2, match lighting
apply pattern from image 2 to blue area
use building facade from image 2 to fill red section
transfer garden elements from image 2 into yellow marked space
Tips for Reference-Based Filling:
- Choose reference images with clear, well-lit examples of your desired content
- Match general lighting conditions between main image and reference when possible
- Specify which image number contains your source material
- Crop references to show mainly the relevant element if other content confuses results
- Describe how the transferred content should integrate ("blend at edges," "maintain shadows")
Key Features of AiSudo's Generative Fill AI Tool
AiSudo's Generative Fill AI tool puts precise image editing within everyone's reach. Here's what makes it stand out:
Intuitive Color-Based Selection: Mark exact areas using AiSudo's built-in editor with customizable colors. No complex lasso tools or layer masks required—just paint and proceed.
Pure Green Optimization: Our system is finely tuned for pure green marking, leveraging training patterns from green screen footage for superior recognition and cleaner results.
Dual-Purpose Flexibility: Remove unwanted objects completely or replace them with new content using the same simple workflow. One tool handles both operations seamlessly.
Prompt-Driven Precision: Control every aspect of the fill through natural language. Specify content, style, lighting, texture, and integration quality without technical parameters.
Reference Image Integration: Pull textures, patterns, or entire elements from separate images to populate your marked areas, enabling complex composites and style transfers.
Context-Aware Blending: The AI analyzes surrounding pixels, lighting conditions, and perspective to generate fills that look naturally part of the original photograph.
Non-Destructive Experimentation: Try multiple variations on the same marked area with different prompts. Your original image remains untouched as you explore possibilities.
Browser-Based Convenience: No downloads, no installations, no compatibility issues. Works on any device with internet access.
Rapid Processing: Generate fills in seconds rather than minutes. Iterate quickly to refine your vision.
Generous Free Access: Start with 15 free credits daily (approximately 5 standard edits). Scale up through affordable paid plans for professional workloads.
Frequently Asked Questions about Generative Fill Online
What is generative fill and how does it work?
Generative fill is an AI-powered editing technique that replaces or modifies selected portions of an image. You mark an area, provide instructions through text prompts, and the AI generates new pixel content that blends with your original image. Unlike simple clone stamping or content-aware fill, generative fill understands context and can invent entirely new, appropriate content for the space.
What makes pure green the best color for marking areas?
Through extensive testing, pure green (#00FF00) has proven most reliable for AI recognition. This likely stems from widespread training on green screen footage in film and photography datasets. The color is distinct from most natural skin tones, common clothing colors, and typical environments, minimizing confusion. While other colors work, green offers the most consistent results for generative fill image editing.
Can I fill image with another image rather than generated content?
Yes. Upload your main image plus a reference image containing desired content. Mark your target area, then prompt the AI to transfer from the reference (e.g., "fill green area with texture from image 2"). This fill image with another image approach works beautifully for transferring materials, landscapes, or specific objects.
What is the difference between ai photo fill and traditional clone tools?
Traditional clone tools copy existing pixels from one area to another, requiring source material that matches. AI photo fill invents new pixels based on learned patterns and your instructions. It can generate content that never existed in your original image, handle larger areas convincingly, and match lighting and perspective automatically.
Can I use generative fill for professional photography work?
Many professional photographers use AiSudo's generative fill for client work, particularly for removing distractions, extending backgrounds for different crop ratios, or adding atmospheric elements. For commercial publication, review our usage terms. Premium subscriptions include commercial licenses appropriate for professional deliverables.
Can generative fill add entirely new objects, not just remove things?
Yes. Mark where you want the new object, then describe it precisely: "add a sleeping cat on the green marked cushion" or "place a brass reading lamp on the marked table." The AI generates appropriate content with shadows and integration. This transforms simple removal into creative addition.
What file formats work best for generative fill?
JPEG and PNG formats work excellently. PNG preserves any transparency if you're working with layered concepts. Higher resolution originals yield better results, though extremely large files may be automatically optimized for processing speed. The image fill online system handles standard web and print resolutions comfortably.
Ready to transform your images with precision and imagination? Open AiSudo's Generative Fill AI tool and start editing.